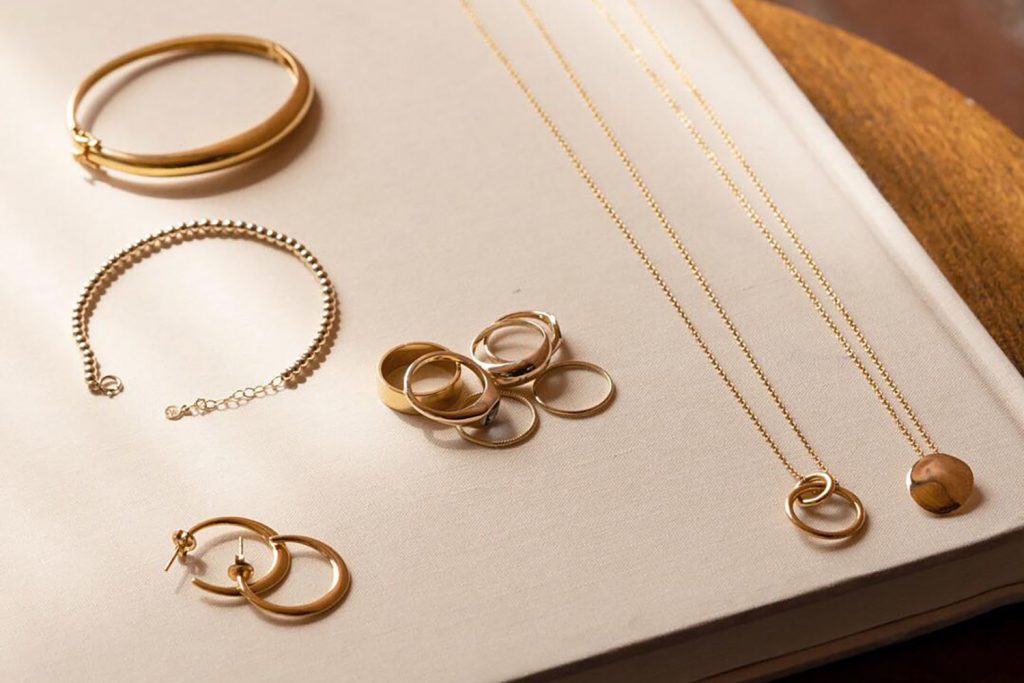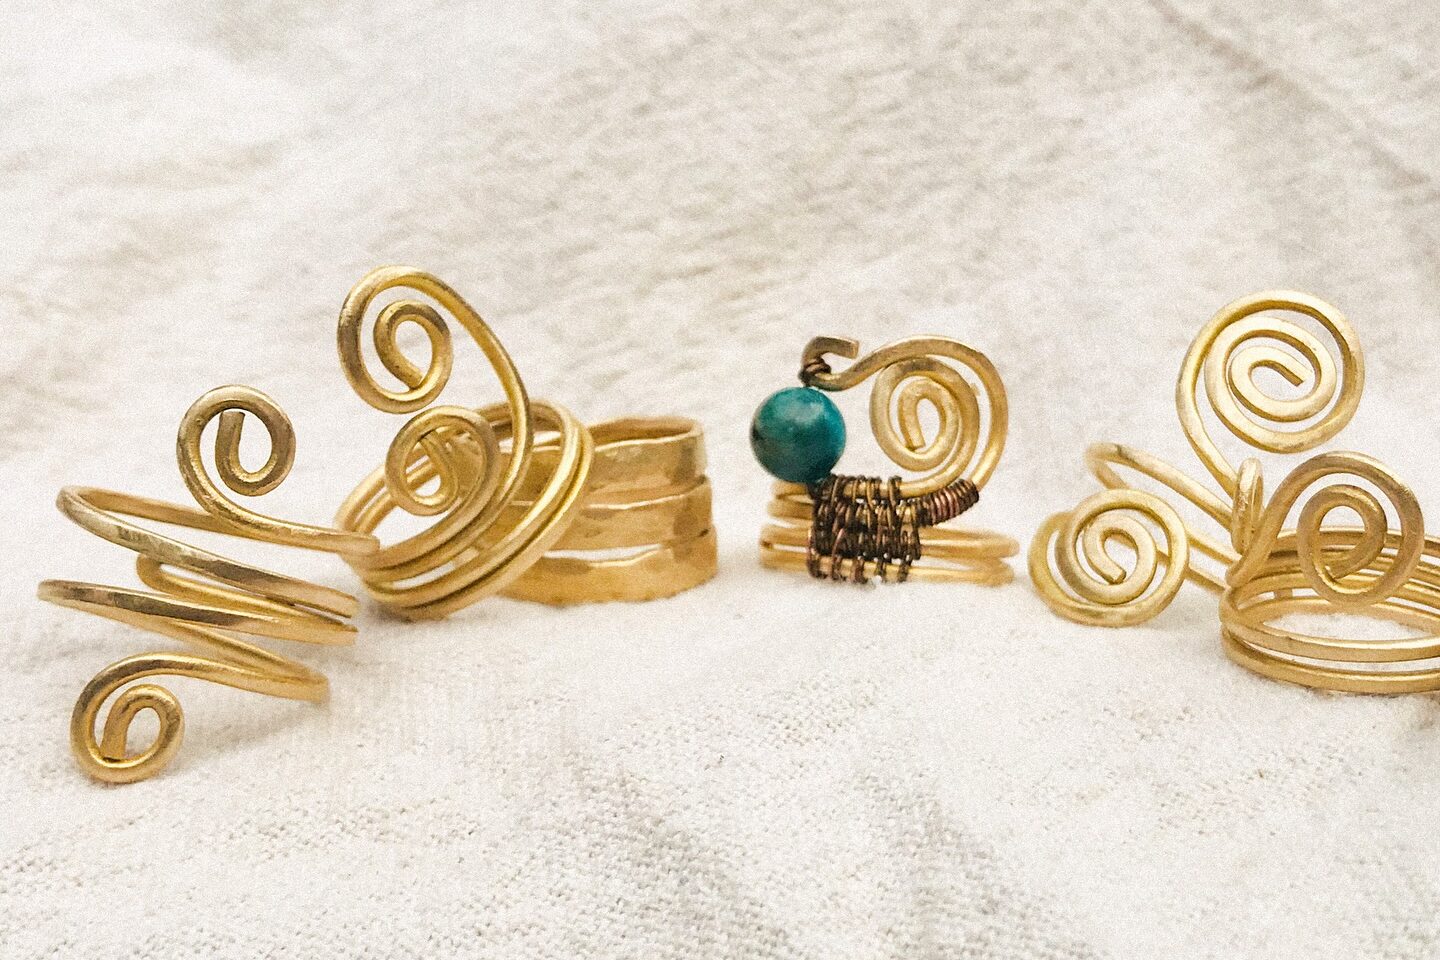
If you want to try to make a unique ring by yourself, try wire jewelry ring making. It is not only simple but also creative and you can even show your personal style through it. Whether you want to give it to someone as a gift or create an exclusive piece of jewelry for yourself, wire ring making is a great choice.
Today, we are going to share with you some tips for making wire jewelry rings, so that you can easily get started and make your own unique ring.
Tools and materials needed
First of all, we need to prepare some basic tools and materials. These materials are not hard to find, you can buy them in craft stores, online or some DIY markets.
Copper or Aluminum Wire: wire is the main material for making rings. You can choose copper or aluminum wire, the latter is softer and easier to handle. Generally speaking, a wire diameter between 0.8mm-1.0mm is most suitable.
Round nose pliers: this is a very important tool that helps you bend the wire to create rounded curves.
Sharp-nosed pliers: Sharp-nosed pliers can help you precisely handle the details of the wire, especially when you need to twist or make small loops.
Wire Cutting Pliers: used to cut excessively long wires.
Beads, gemstones, pendants and other decorations (optional): you can choose some small beads, gemstones or other decorations to add more details to the ring.
Step 1: Measurement
The most important step before you start is to measure your finger size. You can either wrap a thin wire around your finger to mark the right length and measure the length, or just go ahead and buy a ring measuring tool. If you don’t want to go through all that trouble, you can also use a ready-made ring to put it on and see to find the right size.
Step 2: Cut the wire
Next, take out your wire and cut it with scissors into a section about 1 to 2 centimeters more than the size of your finger. Don’t worry about the slight extra section, it will help you hold the ring shape better in subsequent steps.
Step 3: Make the ring band
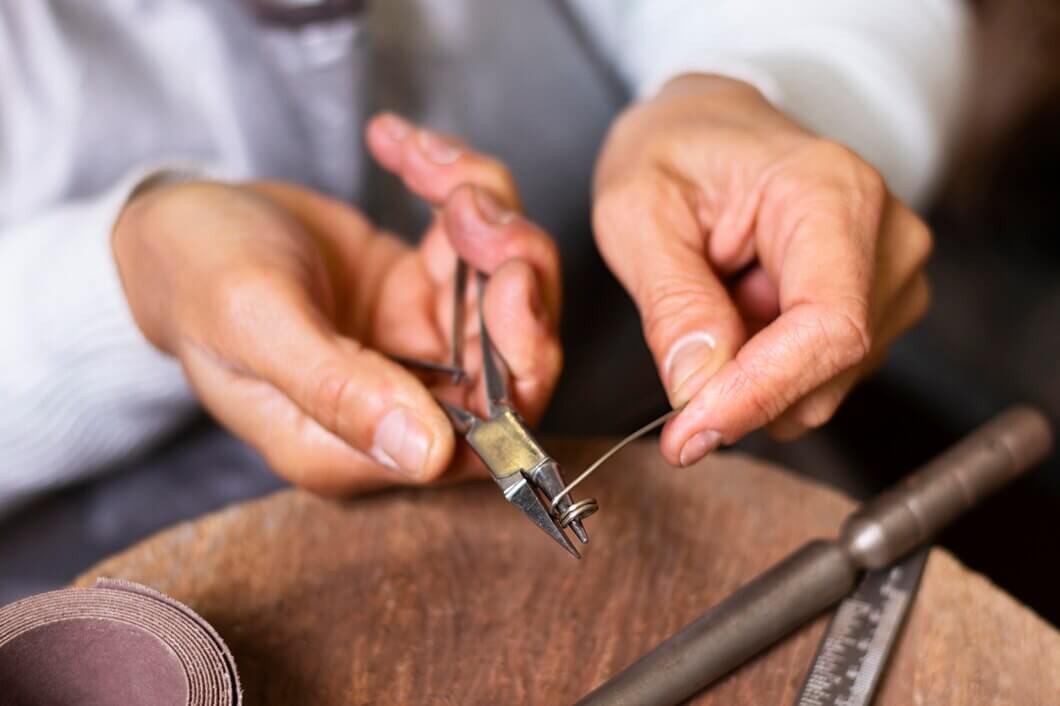
Now start making the ring shape! Grab your round nose pliers and gently bend the end of the wire into a circle. If you want a more even circle, find a small round object, like a bottle cap, and use it as a template.
As you bend the wire, try to keep the wire as straight as possible and don’t let it twist. Continue bending the wire into a circle until the ends touch together. Don’t forget to check the size of the ring from time to time to make sure it fits your finger.
Step 4: Trimming the Ring Shape
After making the basic shape of the ring, you may find that it’s a little less round or has small imperfections. Don’t give up in a hurry, take out your round nose pliers and sharp nose pliers and trim it a little.
You can adjust the ends of the ring again to make sure it’s more perfectly round. Check that the ring fits comfortably on your finger, and if it feels too tight or too loose, fine-tune it as needed.
Step 5: Secure the wire and finish the ring
Finally, cut off the excess wire. To prevent the end of the wire from piercing your skin, use pliers to flatten it out and make sure there are no sharp points.
If you want to add more unique elements to the ring, you can add small gems, beads, or mini embellishments you made yourself to the surface of the ring. Small pendants made from wires can also be easily adorned on the ring.
Tips to enhance the beauty of your ring
Choose the right wire: Different wires will affect the texture of the ring. If you prefer a simpler design, choose a thinner wire; if you like a weighty ring, choose a thicker wire.
Practice and improve: making wire jewelry rings is a craft that requires patience. Don’t worry if you don’t get it perfect at first, but with more practice, you’ll become more and more adept at it.
Add personal creativity: everyone’s style is different, you can add your favorite colors, shapes, or even some symbolic elements on the ring to make a ring just for you.
Summing up
Making wire jewelry rings not only gives you a unique accessory, but also enhances hands-on skills and creativity. You don’t need too many tools and complicated steps to make a beautiful ring with basic skills. Whether it’s a simple line or a delicate jewelry decoration, crafting is always fun.
