Today, I’m bringing you a super fun craft DIY tutorial – how to make resin jewelry! Don’t you think resin jewelry looks both beautiful and unique? Wouldn’t you like to make one yourself? Don’t worry, I’ll take you step by step into this creative world and make it easy for you to create your own resin pieces.
Materials
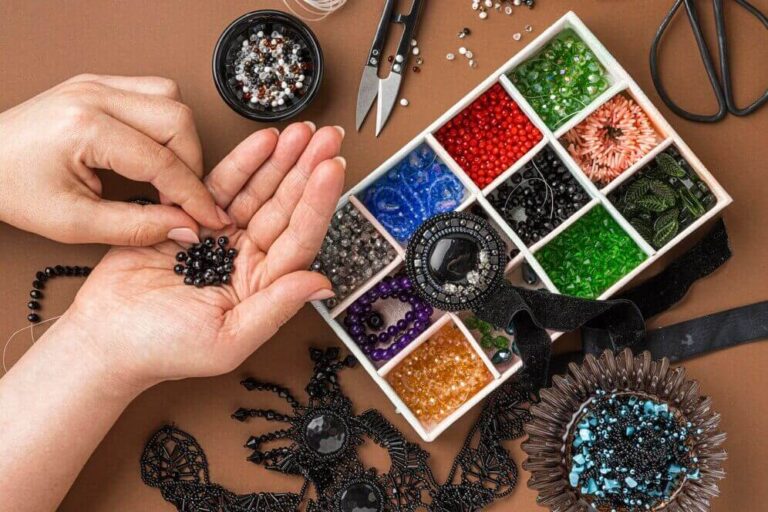
If you want to make resin jewelry, the first thing you need to know is what materials are required: resin Liquid, hardener, silicone molds, decorations, sirring stick, gloves and mask.
Ready? Then let’s start!
Steps to Make Resin Jewelry
1. Preparation
First of all, we have to operate on a clean workbench, it is best to lay down newspaper or plastic sheet to avoid dirtying the table. Then, wear good gloves and masks, remember to ensure good ventilation. Although the smell of resin isn’t very strong, safety should always come first!
2. Resin mixture
According to the instructions on the resin package, take the appropriate amount of liquid resin and hardener, the general ratio is 1:1, pour into a container. Then, gently stir with a stirring stick for about 3-5 minutes to make sure they are completely mixed well. At this time, you can see if there are any air bubbles in the resin, if there are, you can gently shake the container and the bubbles will disappear.
3. Add decorations
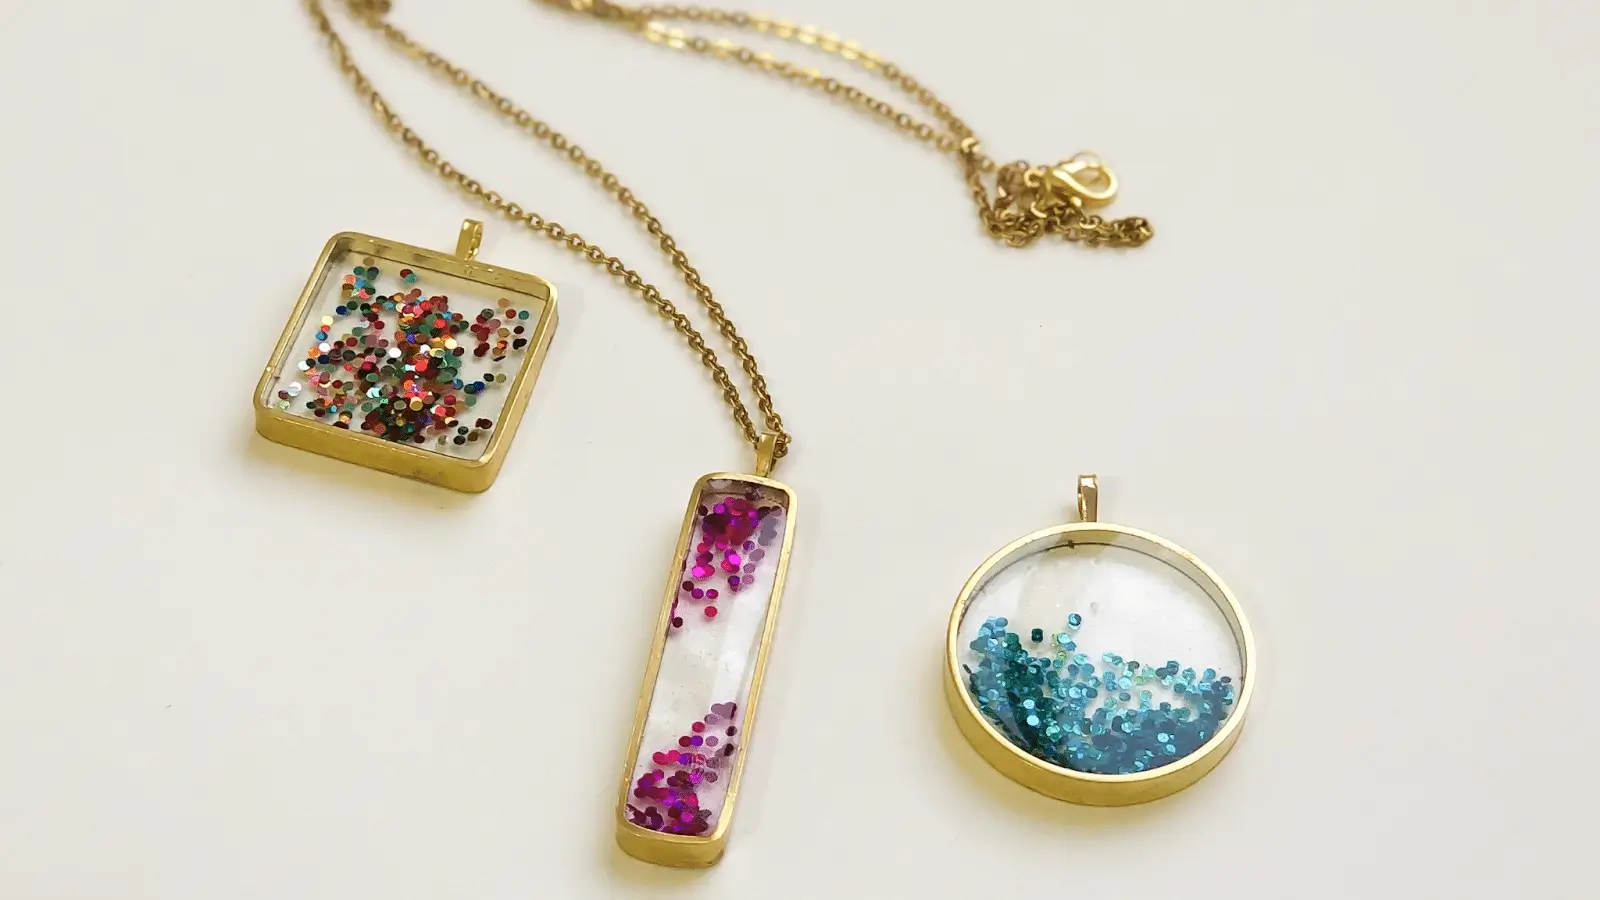
Once mixed, the resin can be combined with your favorite decorations, such as dried flowers, glitter or small beads. This step is all about your personal creativity. You can mix and match to create your desired effect. For example, if you like natural style jewelry, you can put in some small flowers; if you want a little sparkle, glitter is definitely a good choice.
4. Pour into the mold
Slowly pour the blended resin liquid into the mold, be careful not to pour too much at once to avoid overflowing. You can gently shake the mold so that the resin evenly covers the bottom of the mold to make sure you haven’t missed any spots.
5. Waiting for the resin to cure
The next step requires the most patience: waiting for the resin to cure. Generally, it takes 24 hours for the resin to fully cure. If your jewelry is thicker, it may take longer. Once the resin is completely cured, you can easily remove the jewelry from the mold!
6. Finishing and Finishing
After removing the jewelry, there may be some uneven areas, this is where you can gently sand it to make it smoother.. After sanding, if you like, you can add a clear resin coating to make the jewelry look more shiny.
7.Give your resin jewelry a personalized stamp
If you want to make the jewelry more personal, you can use a gadget to carve your name or some meaningful small patterns before the resin cures, like a heart, stars or something, both creative and unique.
