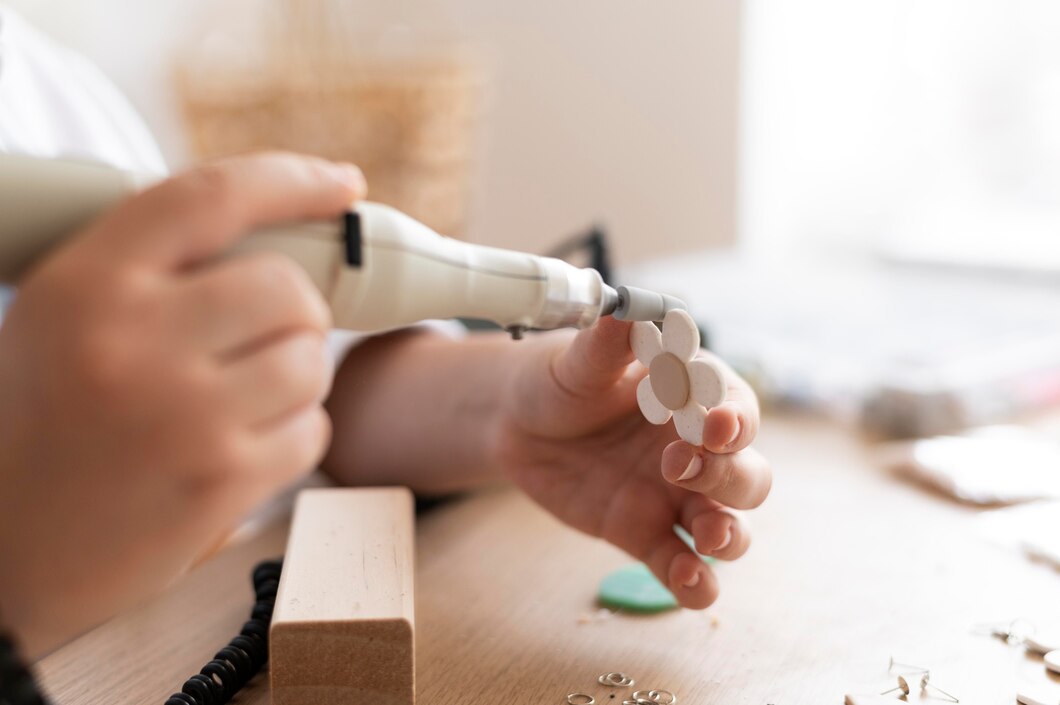
Making clay jewelry is a craft activity that is both creative and fun. Whether you are a craft enthusiast or want to make a unique piece of jewelry for yourself, clay jewelry is a great choice. In this post, I will share with you some easy-to-follow steps on how to make clay jewelry. Hurry up and make your own beautiful jewelry!
1. Materials you need to prepare
Before you start making clay jewelry, you first need to prepare some basic materials. The tools for making clay jewelry are actually very simple, mainly including clay, jewelry accessories and some basic tools. You can choose either air drying clay or baking clay, both of which are suitable for making jewelry.
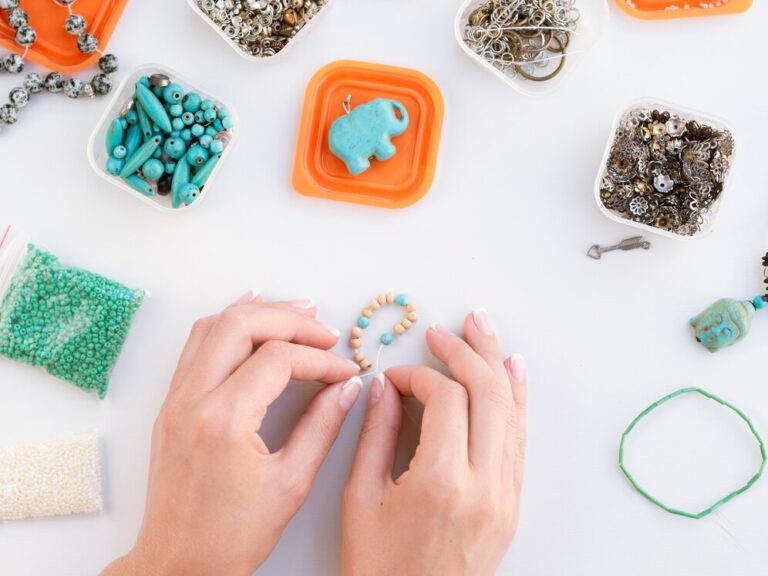
Clay is the most basic material, and there are various colors and textures of clay available in the market. You can pick the clay according to your preference and whatever color you want to make your jewelry. Besides clay, you also need some jewelry accessories, such as earring hooks, ring bases, necklace chains and so on, to facilitate you to complete the final jewelry accessory.
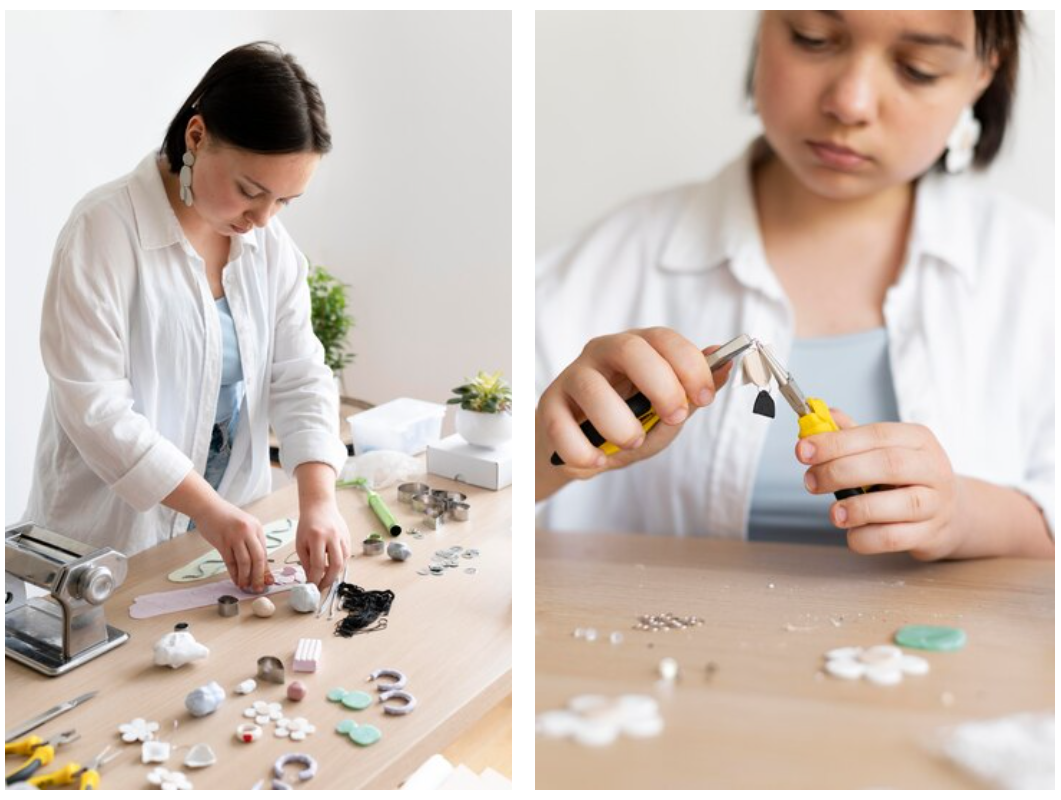
In addition, for tools, you can prepare pocket knives, rollers, toothpicks, punching tools, and so on. These tools can help you make fine carving and punching during the making process to ensure the beauty and perfection of the clay jewelry.
2. Steps of making: step by step guide you to do it
Once we have prepared the materials, we can start making clay jewelry. First of all, take an appropriate amount of clay and roll it into a small ball with your hands or knead it into your favorite shape. For example, you can make a round pendant or heart-shaped earrings.Step-by-Step Instructions for Crafting Your Clay Pieces, get started!
Next, if you’re making a necklace, you can roll the clay into small round pieces with your fingers or carve special shapes through the tool. If you’re making earrings, you can flatten the clay to make your favorite pattern. Don’t forget to use a small tool to punch holes in your jewelry after making the shapes to make sure you can put on a necklace or earring hooks.
3. Creative design: make your jewelry unique
The best thing about clay jewelry is its design freedom. You can design all kinds of unique jewelry according to your own style and preference.Design Tips for Unique and Stunning Clay Jewelry, if you want to make your jewelry more creative, you can try to mix different colors of clay to make a gradient effect, or add some small beads, sequins and other decorations to add more layers to the jewelry.
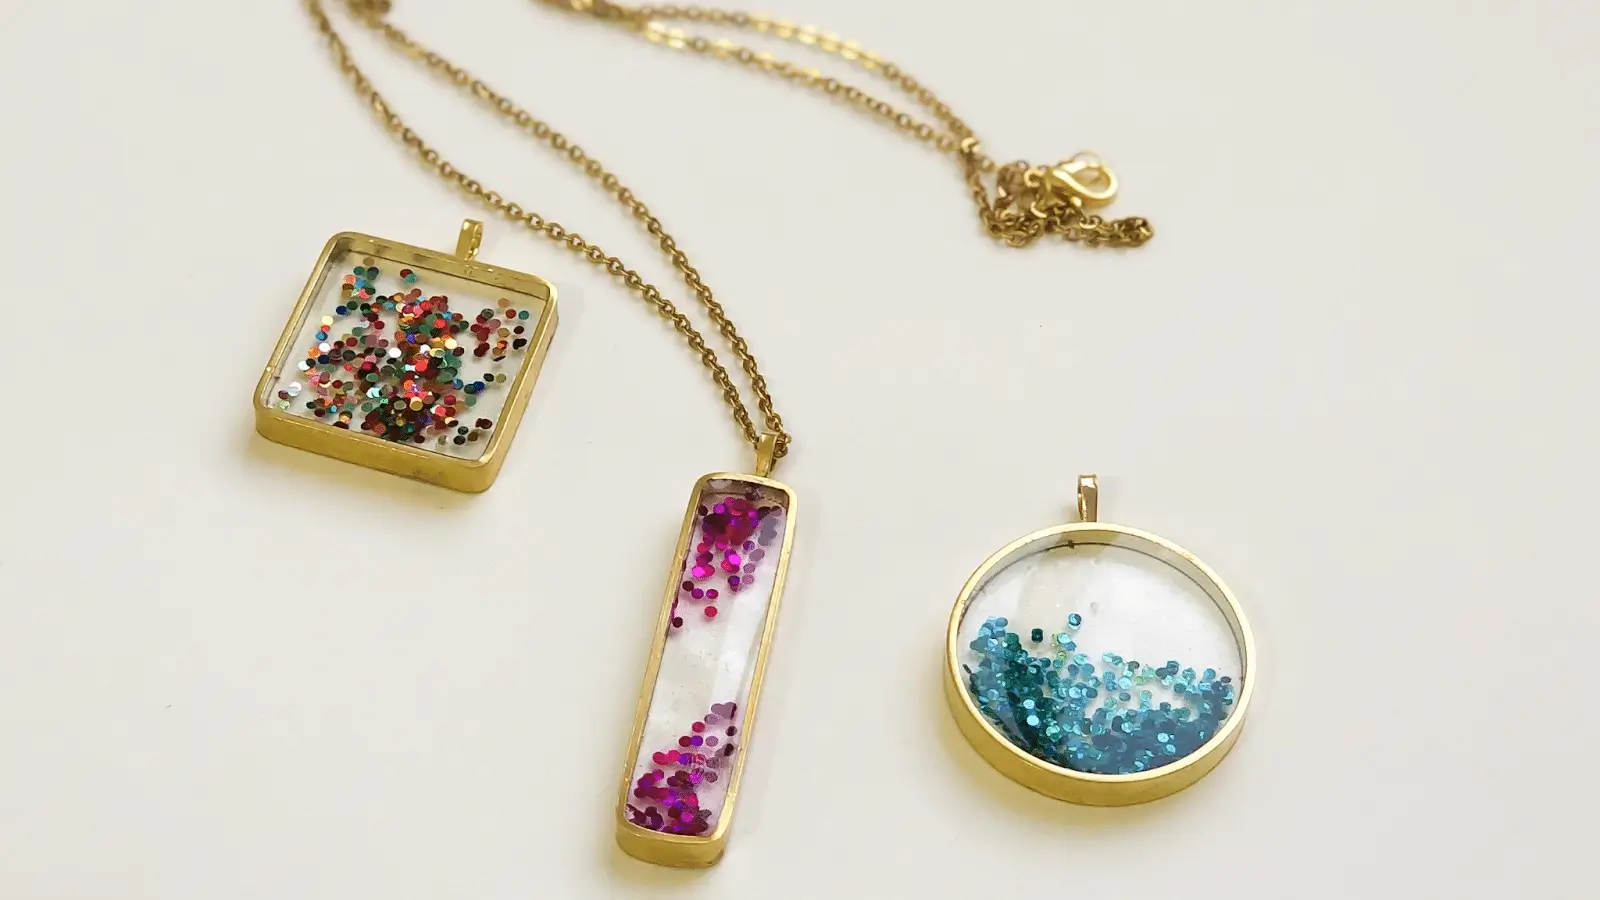
For beginners, you can start with simple shapes, such as round and square pendants. After you become skillful, you can try more complicated designs, such as multi-layered earrings and beaded necklaces. In short, let go of your imagination, creativity has no limits!
4. Baking and Finishing: Making the Jewelry More Delicate
After finishing the design, the next step is to harden the jewelry. If you choose to bake the clay, you will need to bake the jewelry in the oven. Typically, baking clay is done at a temperature between 110°C and 130°C for about 20 minutes, which can be adjusted depending on the thickness of the jewelry.
How to Bake and Finish Your Clay Jewelry, after baking, the jewelry will become hard and durable. If you choose air-drying clay, simply place the jewelry in a ventilated area and let it dry naturally for 24 hours. After drying, you can finish it with some glossy oil or varnish to make the jewelry look shinier.
5. Avoid common mistakes
When making clay jewelry, beginners often tend to make some small mistakes. For example, the shape of the clay is not flat enough or the holes are not in the right place when punching.Common Mistakes to Avoid When Making Clay Jewelry, to avoid these problems, you can make a sketch before you start to make it and make sure that every detail is taken into consideration. When making jewelry, don’t be in a hurry to finish, carve slowly and put your heart into every step, and you’ll be sure to make a beautiful piece in the end!
Tips
- When handling clay, you can slightly dip your hands in water to prevent the clay from drying out.
- When you first start making, try to choose simple designs, and then try complicated styles when you become skillful.
- If you don’t like the complicated baking process, you can choose air-drying clay to save a lot of trouble.
