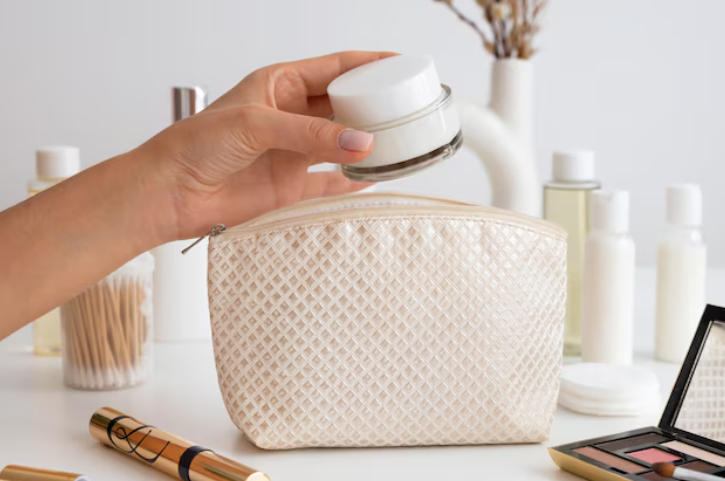
Learning how to make a makeup bag not only allows for personalization but also provides a useful and stylish way to store your beauty essentials. This engaging project is perfect for both beginners and seasoned crafters, offering a chance to create something unique. Follow these detailed steps to craft your own beautiful and functional makeup bag, adding a personal touch to your routine.
Gather Your Materials
To get started, you’ll need a few materials:
- Fabric of your choice (cotton, canvas, or faux leather work well)
- A matching zipper (around 9 inches long)
- Sewing machine and matching thread
- Scissors
- Pins or clips
- Fabric liner (optional for extra structure)
- Measuring tape
- Iron and ironing board
Choosing the Right Fabric
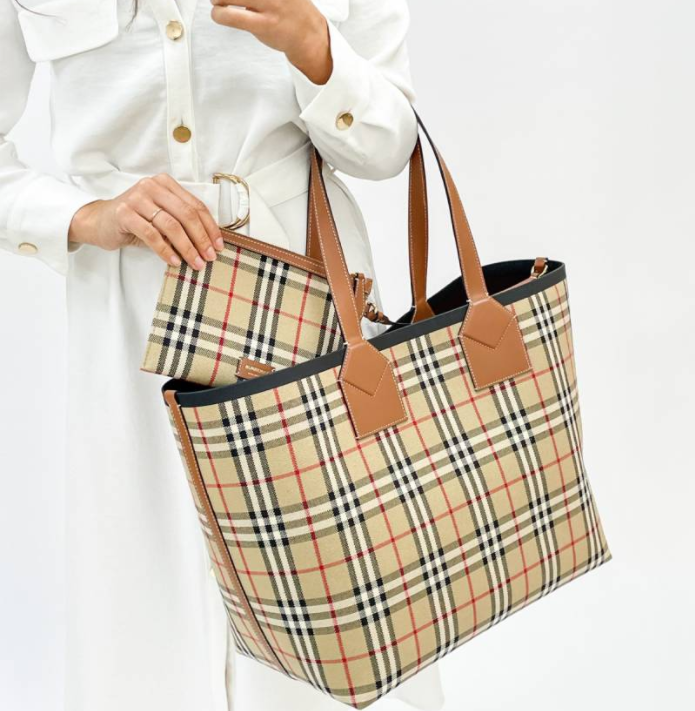
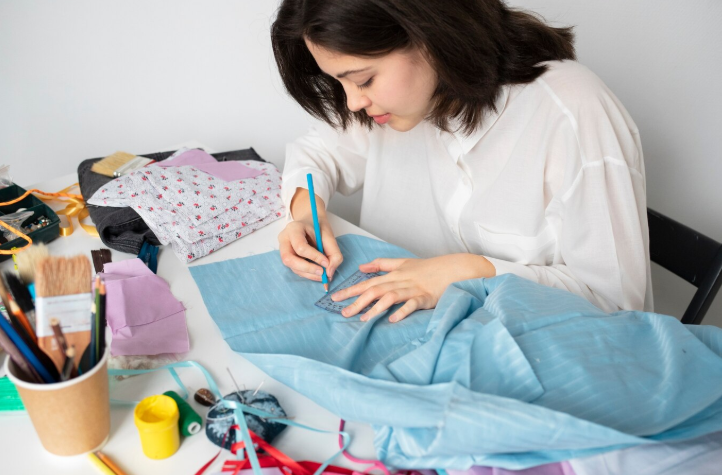
Select fabric that reflects your personal style. Bold prints or chic monocolors can make your makeup bag stand out. Ensure that the fabric is durable enough to withstand daily use. If you want a more structured bag, consider using a fabric liner as an inner layer.
Cutting the Fabric
Measure your fabric pieces to the desired size. A standard measurement might be:
- Two outer fabric pieces: 10 inches by 7 inches
- Two liner pieces (if using): 10 inches by 7 inches
Remember to include a half-inch seam allowance around each edge. Use fabric scissors to ensure clean, precise cuts.
Assembling the Zipper
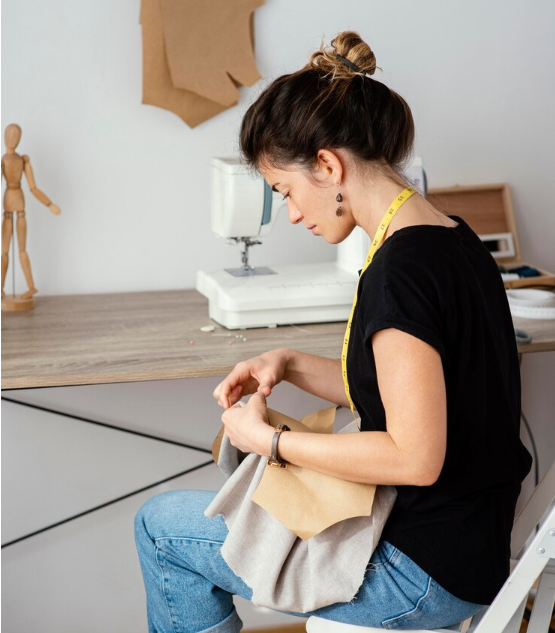
Lay one piece of the outer fabric with the right side facing up. Place the zipper face down along the top edge of the fabric. Align the edge of the zipper with the fabric edge, pinning them together to hold in place. If using liner, place it face down on top of the zipper. Sew along the pinned edge using a zipper foot on your sewing machine for accuracy.
Repeat this step with the other side of the zipper, attaching it to the other piece of outer fabric and liner.

Sewing the Bag
Once the zipper is attached, flatten the fabric and topstitch along the edge of the zipper for a neat finish. This step not only enhances aesthetics but also prevents the fabric from catching in the zipper.
After topstitching, unzip the zipper halfway to prevent sewing it shut. Place the outer fabric pieces together, right sides facing each other, and do the same with the liner. Pin around the edges, leaving a small gap in the lining for turning the bag right side out later.
Sew around the edges with a half-inch seam allowance, reinforcing over the zipper ends for durability. Be cautious not to sew over the metal parts of the zipper, as it may break your needle.
Turning the Bag
Through the gap in the lining, carefully turn the bag right side out. Use your fingers to push out the corners for a neat, rectangular shape. Then, sew the gap in the liner closed with a tight stitch.
Final Touches
Once turned, iron your bag gently to remove any wrinkles and give it a polished finish. Ensure the zipper moves smoothly, and make any necessary adjustments.
Personalizing Your Makeup Bag
To make your makeup bag truly your own, consider adding decorative elements like:
- Embroidery or patches
- Fabric paints or markers for designs
- Small charms or tassels attached to the zipper
These details can enhance the character and uniqueness of your DIY creation.
Conclusion
Understanding how to make a makeup bag allows you to craft a personalized accessory that meets your style and functional needs. By carefully selecting materials and following these steps, you’ll create a professional-looking makeup bag that adds a personal touch to your beauty routine. Enjoy the satisfaction of using something you made yourself, blending creativity with practical skill.
