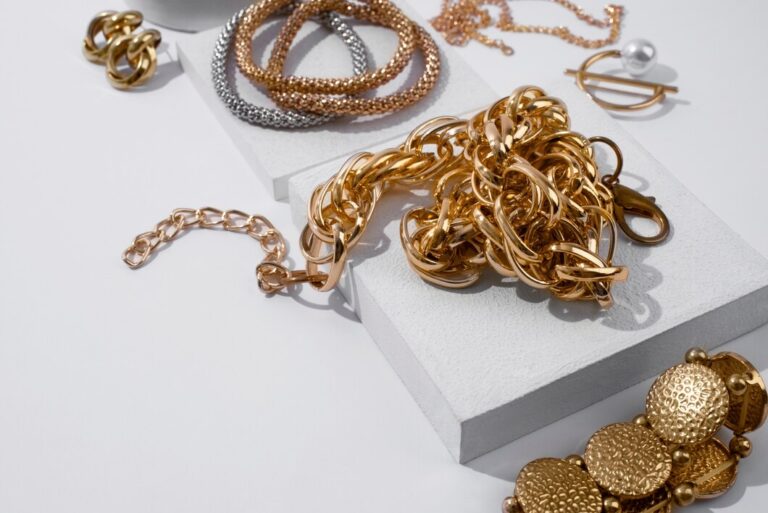
Do you also have this kind of trouble? Jewelry lying around, necklaces tangled, earrings missing …… Looking at the piles of trinkets on the desktop, you often feel that there is no way to organize them properly. In fact, the solution to this problem is very simple: make a jewelry box by yourself! Not only can you solve the organizing problem, but you can also give your trinkets a unique home. Today I’m going to teach you how to make a simple and personalized jewelry box, making it both practical and beautiful.
Step-by-Step: How to Make a Jewelry Box with Easy-to-Find Materials
The first step in making a jewelry box is, of course, to prepare the required materials. You don’t need any advanced tools, you can totally use some old things at home to do it. All you need is a small wooden box (it would be great if you have an unused box at home), some colorful paper, fabric, glue, and simple decorations such as small pearls or sequins. Basically, all these materials can be found in stationery or craft stores and are very easy to get.
Choosing the Right Materials for Your Jewelry Box Project
When choosing materials, the most important thing to consider is the function of the jewelry box. You can choose the size of the box and the way the interior is divided according to your needs. For example, if you have a lot of jewelry, you can choose a larger box and consider adding dividers so that you can efficiently categorize different accessories such as necklaces, rings, earrings, and so on. The interior lining can be made of cotton or foam padding, which protects the jewelry and makes the box softer and more comfortable.

Personalizing Your Jewelry Box with Creative Decor Ideas
This is where the room for creativity comes in! Add some personalized touches to your jewelry box to make it even more unique. For example, you can wrap the outside of the box in fabric, choose your favorite pattern or color, or even try decorating the lid and surrounding area with small stickers, sequins, and beads. This not only makes the jewelry box more beautiful, but also gives it your own style. Remember, the simpler the decorations, the more sophisticated they tend to be.
How to Organize Your Jewelry for Easy Access and Protection
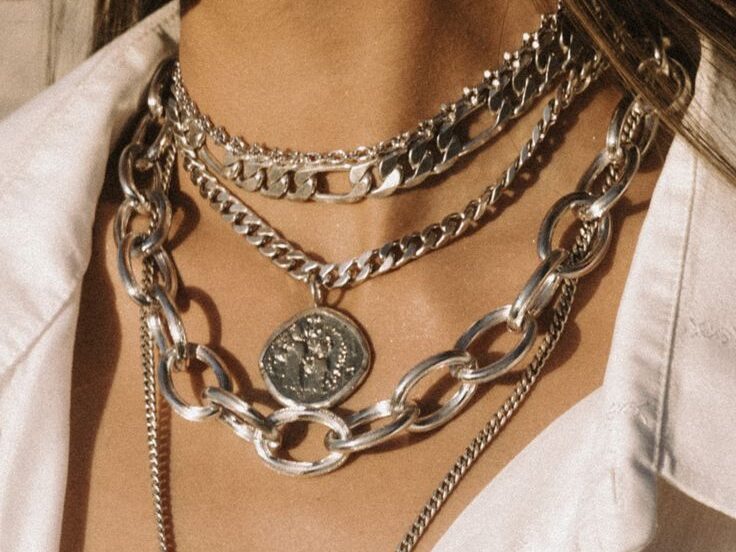
After creating the exterior and decorations, the next step is to organize the interior. You can divide the box into multiple compartments depending on the type of jewelry, with earrings, rings, and necklaces stored separately. This not only prevents them from getting tangled, but also allows you to quickly find the jewelry you need. Especially for small and delicate jewelry, using small compartments can be a good way to separate them and avoid losing them.
Turn a Simple Box into a Stylish Home for Your Jewelry
In the end, a jewelry box is more than just a storage tool; it can be turned into a work of art. If you are a crafty person, you can use these simple materials to create a jewelry box that is both functional and creative. This jewelry box will not only be a place for you to store your accessories, it will also become a part of your life, and every now and then, you will see it and be reminded of that little creative idea that you made with your own hands.
Summarize
With just a few simple tools and materials, you can create a practical and creative jewelry box that will solve all your storage worries. Most importantly, this jewelry box will not only help you organize your accessories, but also add a unique decorative touch to your home. If you haven’t tried it yet, do it and give your jewelry a brand new little home!


Random Posts