Hey friends! Today I want to share with you a super easy and practical little craft project – sewing a tote bag with a flat bottom! If you’re interested in sewing and want to make a bag that’s both beautiful and functional, you can’t miss this tutorial! Are you ready? Let’s do it together!
Materials you’ll need
First, prepare the following materials:
Fabric: choose your favorite fabric, preferably some stronger cotton or canvas. You’ll probably need two rectangular pieces of fabric (each about 40cm x 50cm) for the body of the bag.
Strap: If you want a longer strap, you can use a 70cm long fabric strap or webbing.
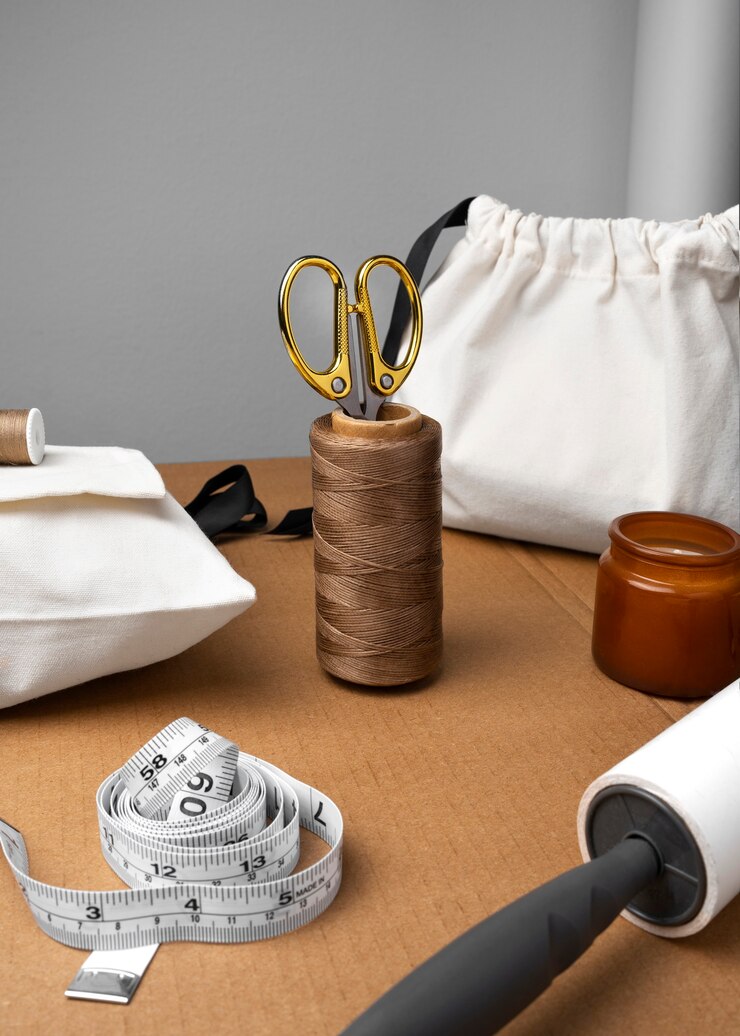
Sewing tools: sewing machine or sewing kit, don’t forget to prepare scissors, pins and ruler!
Needle and thread: Choose a thread that matches the color of the fabric, and preferably one that is stronger.

Step 1: Prepare the fabric
First, cut the fabric. Take your fabric and cut it into two rectangles of the same size – these two pieces will be the body of your bag. If you want a bigger bag, you can of course increase the size of the fabric.
Next, cut a piece of fabric for the strap. The width of the strap should be around 5cm, and the length can be adjusted according to your personal needs. 70cm is usually enough.
Step 2: Sew the bottom of the bag
Then, come to make the bottom part of the bag. The charm of the flat bottom Tote bag is that it can stand up and the bottom is flat and not easy to fall down. What we need to do is to “close” the sides of the bag to make the bottom more stable.
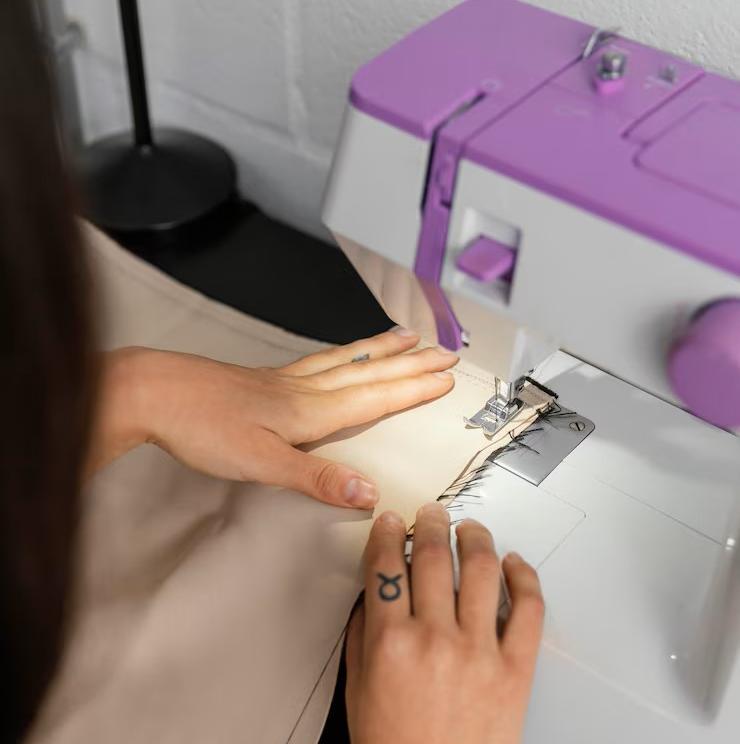
First, take two pieces of bag body fabric, bottom folded, with a sewing machine or needle and thread to sew the two sides of the fabric together, leaving 1-2 cm of seam allowance. Note that this seam is not directly sewing the entire bottom, but rather allowing the bottom of the bag to form a corner, like folding the sides of the fabric over.
Step 3: Sew the body of the bag together
Next, bring the two sides of the already sewn bag body fabric together, with the edges aligned, and stitch them together with a needle and thread. The most important thing to remember in this step is to make sure that the stitching is even, otherwise the shape of the bag might not be right.
Remember to leave a gap when sewing, this gap is used to turn the bag over. After flipping, pack the seam allowance neatly and sew again to secure it.
Step 4: Make the strap
The strap part is also an important part of the tote bag. The easy way to do this is to cut a piece of fabric about 5cm in width and 70cm in length, then fold the two sides into the center and sew it together with a sewing machine. This way the bag strap is made.
If you’re using webbing, then just secure the ends of the webbing to make sure it doesn’t come undone.
Step 5: Secure the strap
Once the bag strap is done, it’s time to sew it to the body of the bag. According to their favorite position, the two ends of the strap were sewn to the sides of the bag, be sure to sew firmly, otherwise the strap is easy to fall off Oh.
Generally speaking, the strap is sewn on the upper part of the bag body, near the position of the bag mouth. This is not only convenient to carry, but also more sturdy.
Step 6: Organize the edges
The last step is to organize the edges of the bag. Use a sewing machine to sew the edges of the bag opening neatly, you can add a beautiful edge to the mouth of the bag to increase the beauty.
Done!
Now, look at your hand-sewn tote bag, isn’t it super accomplished? You can choose fabrics and accessories according to your own preferences to create a unique bag! Doesn’t it seem so simple? In fact, it’s really easy to make a flat tote bag, there is almost no technical difficulty, everyone can try it oh!


